First Look at Home Server
Whether you are an expert or a novice, the Quick Start tutorial will take you through the basic hardware specifications of the ZimaBoard, the basic applications of the pre-built home server, and some basic account permission systems for debugging and development.
With this short tutorial, you will be able to set up a brand new personal data center in your home in less than 15 minutes. Let’s get started!
Hardware Preparation

Tips
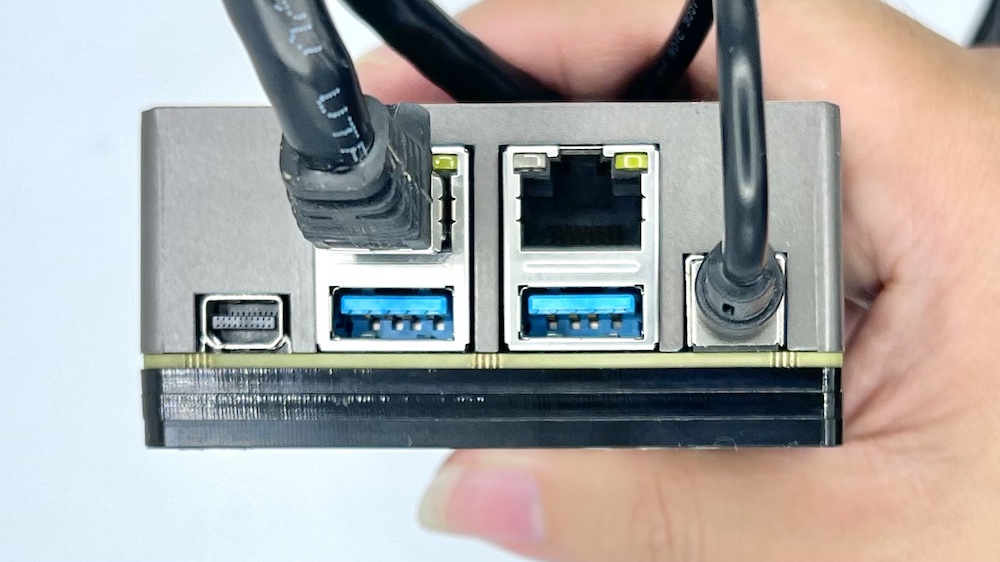
- You don’t need to connect your mouse and keyboard to the ZimaBoard, you can access all the services on the ZimaBoard directly through the network after connecting the network cable.
- For the first time, on this side it is still recommended that you use the miniDP / miniDP to HDMI connection screen for the first time, remembering your ZimaBoard IP address to enjoy a more complete service.
Power And Network Cable Connection
Get Started With The System In Three Steps
Tips
- Need a computer
- Make sure your computer is connected to the same router as the ZimaBoard
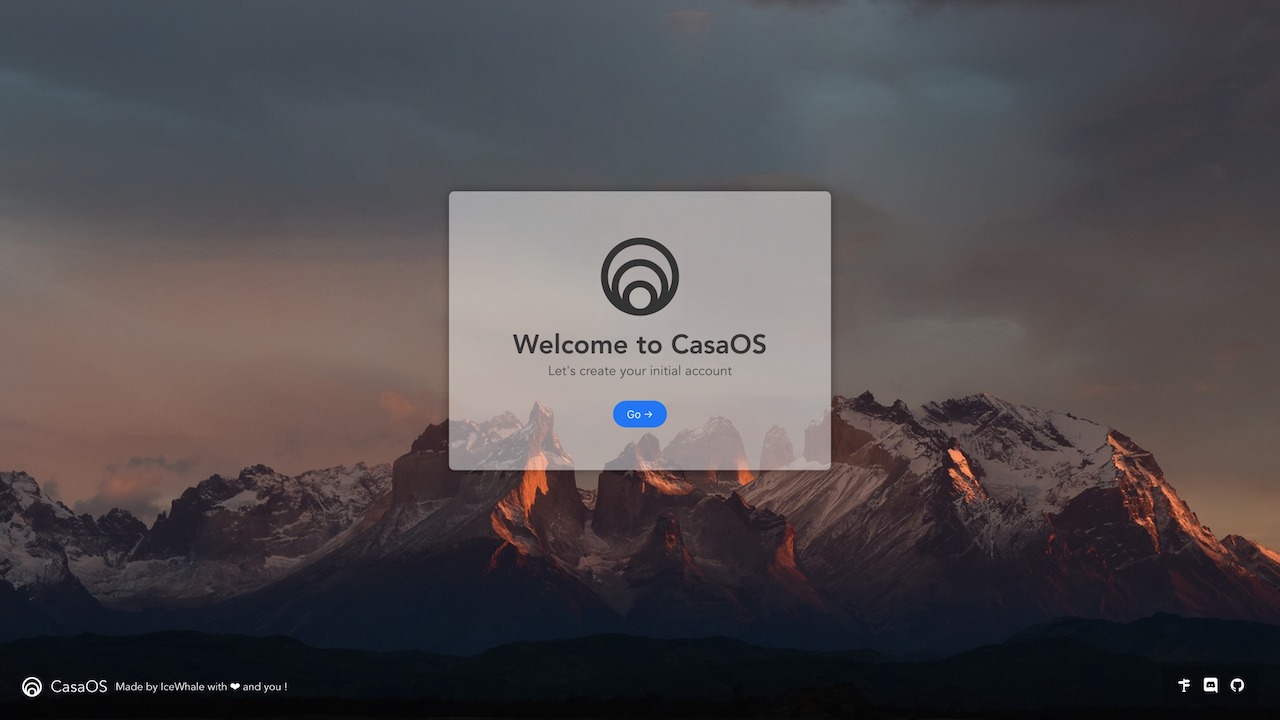
Open a new tab in your browser and enter http://casaos.local

If you find that /casaos.local cannot access CasaOS, please use the IP address to access the system -Tutorial To Find The IP Address
Enter The System
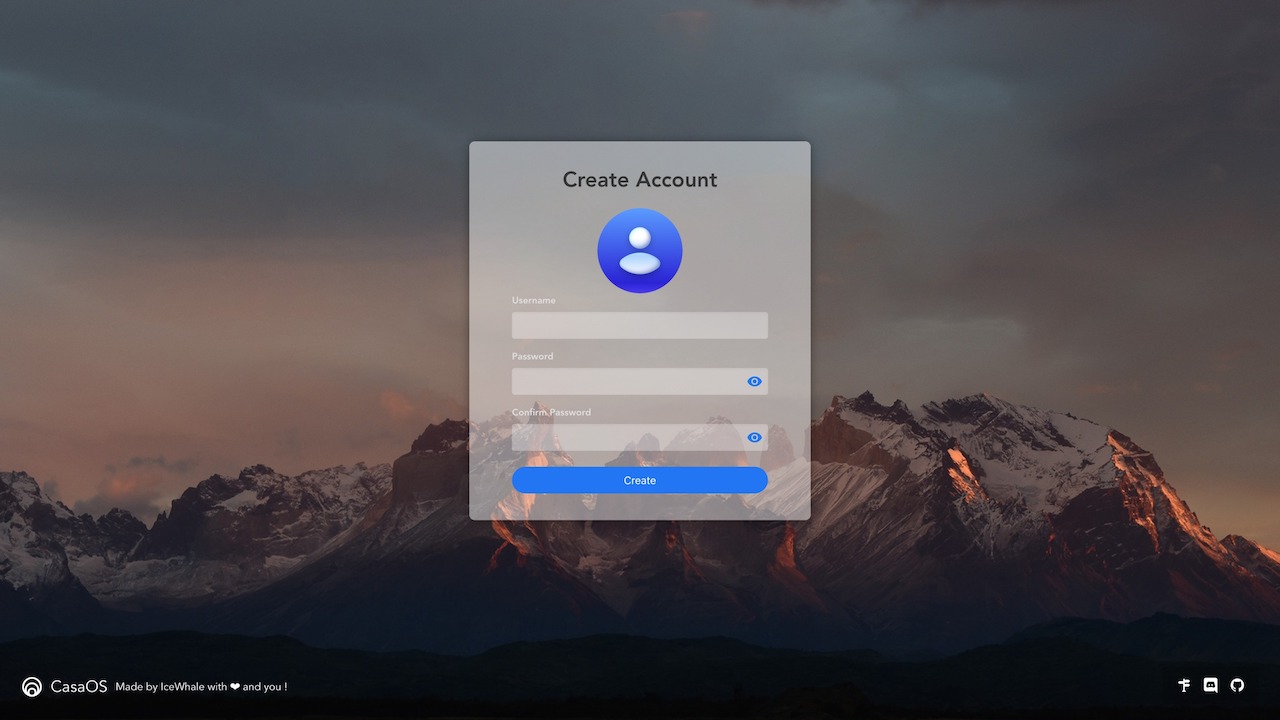
Create Your Account
CasaOS Create Account
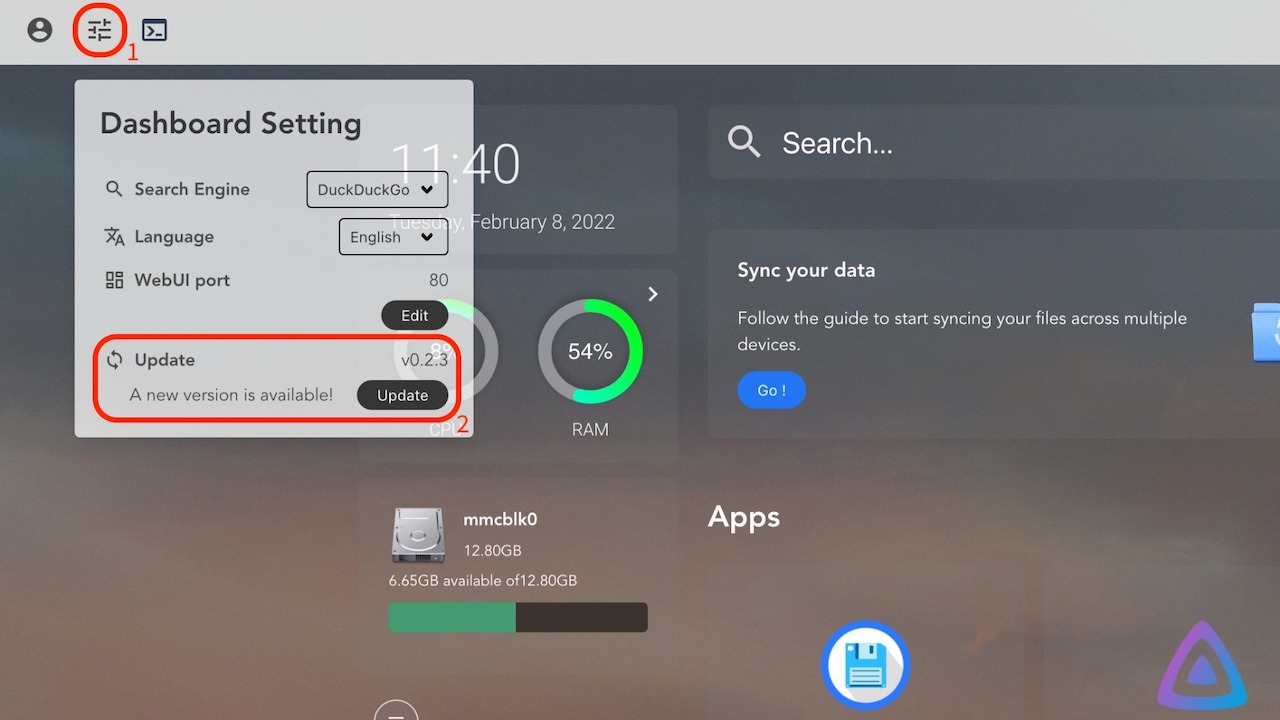
Update system
Updating the system is for a better experience
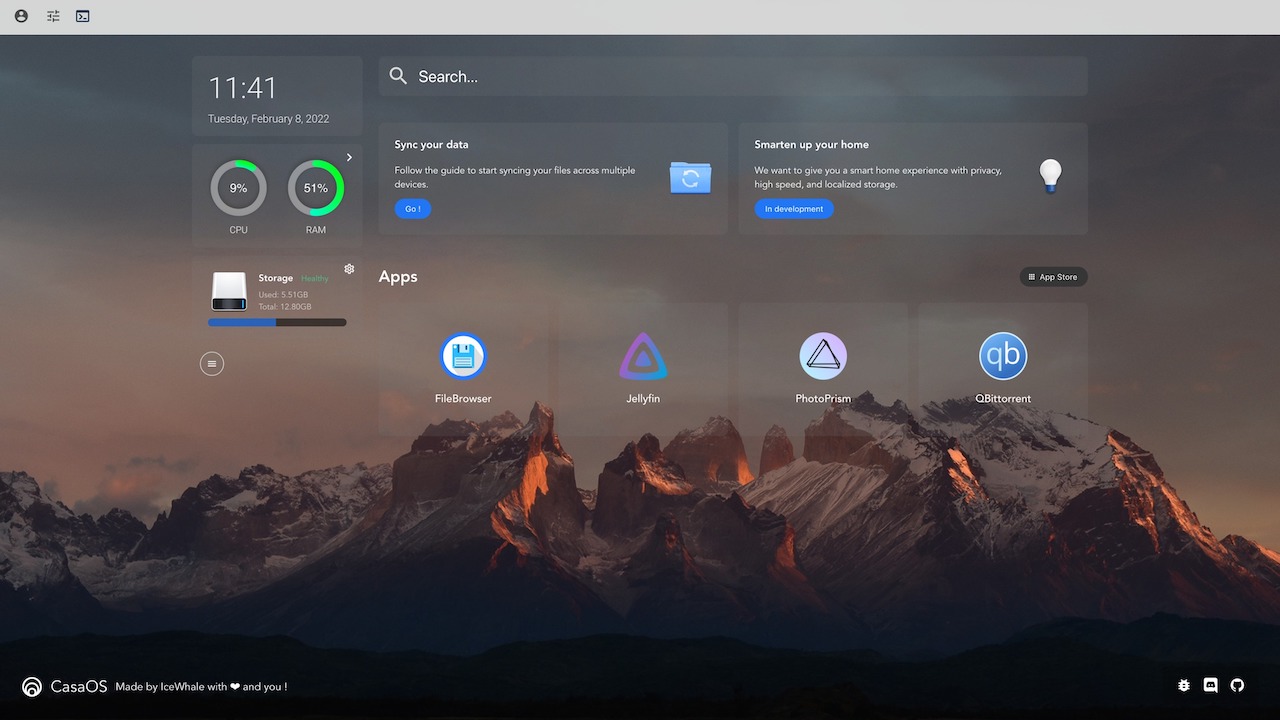
Have Fun!
Default account for Pre-installed AppsUsername:casaos
Password:casaos
