The previous document introduced two options for Unraid installation . This content will be combined with some of the accessories I currently have to build a five-disk NAS and some Unraid OS contains some features to introduce.
Introduction of the hardware currently on hand
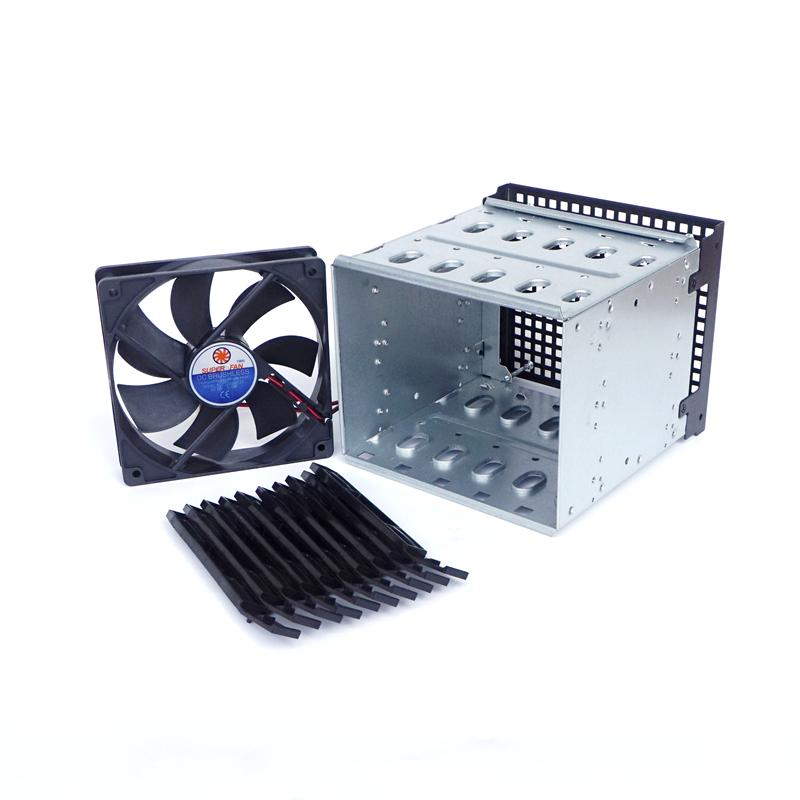
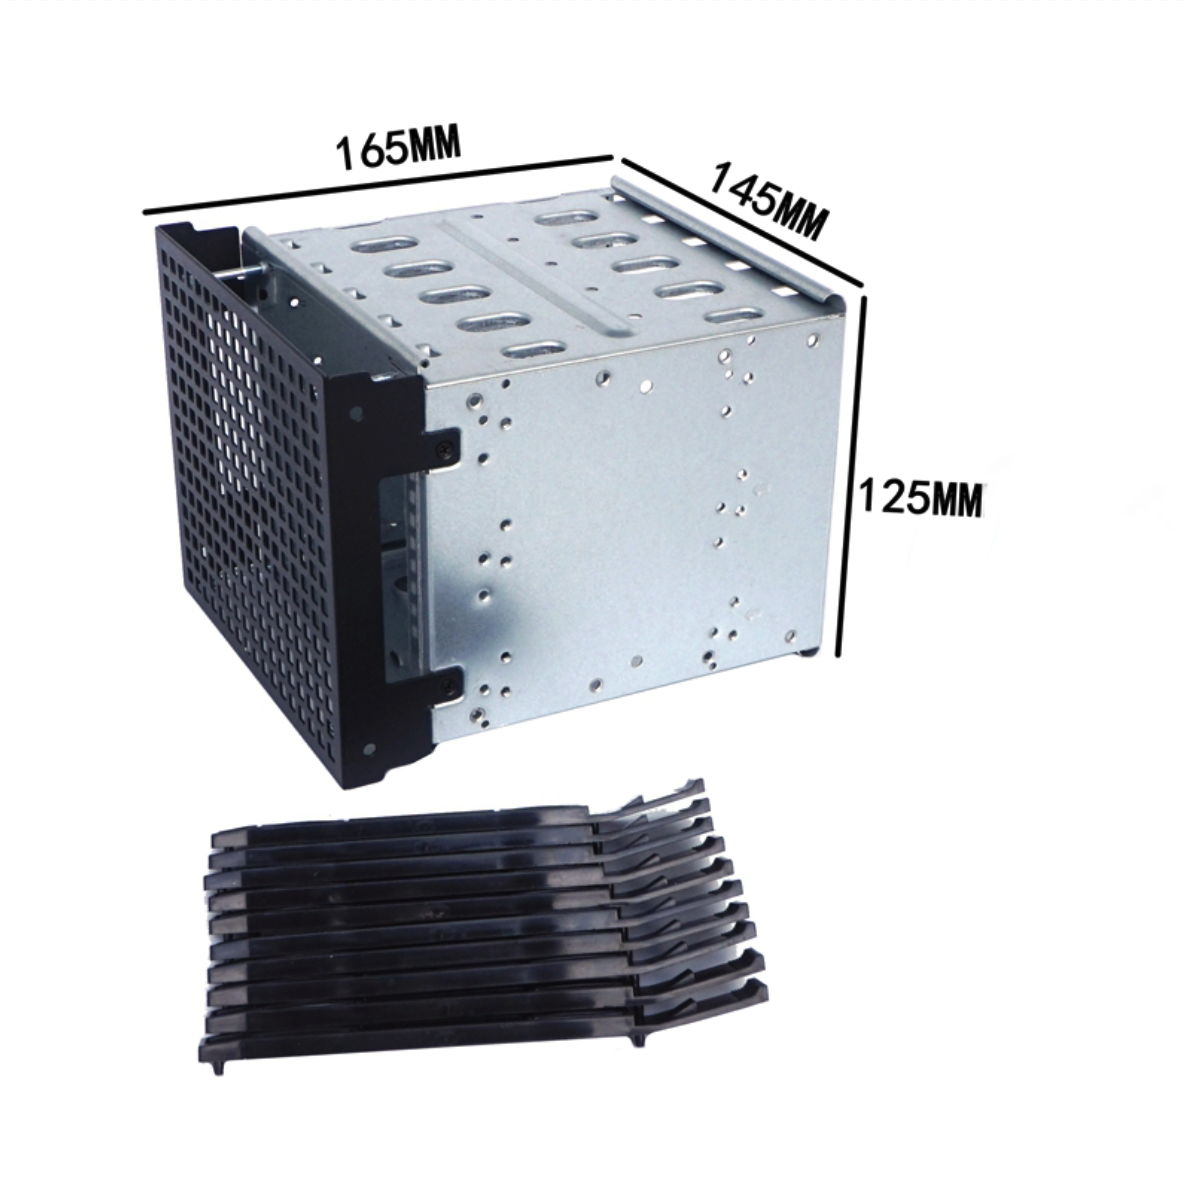
3.5-inch hard drive cage 5 disk position
My choice of hard drive cage here is more cost-effective, the purpose is to get a higher experience at the lowest price
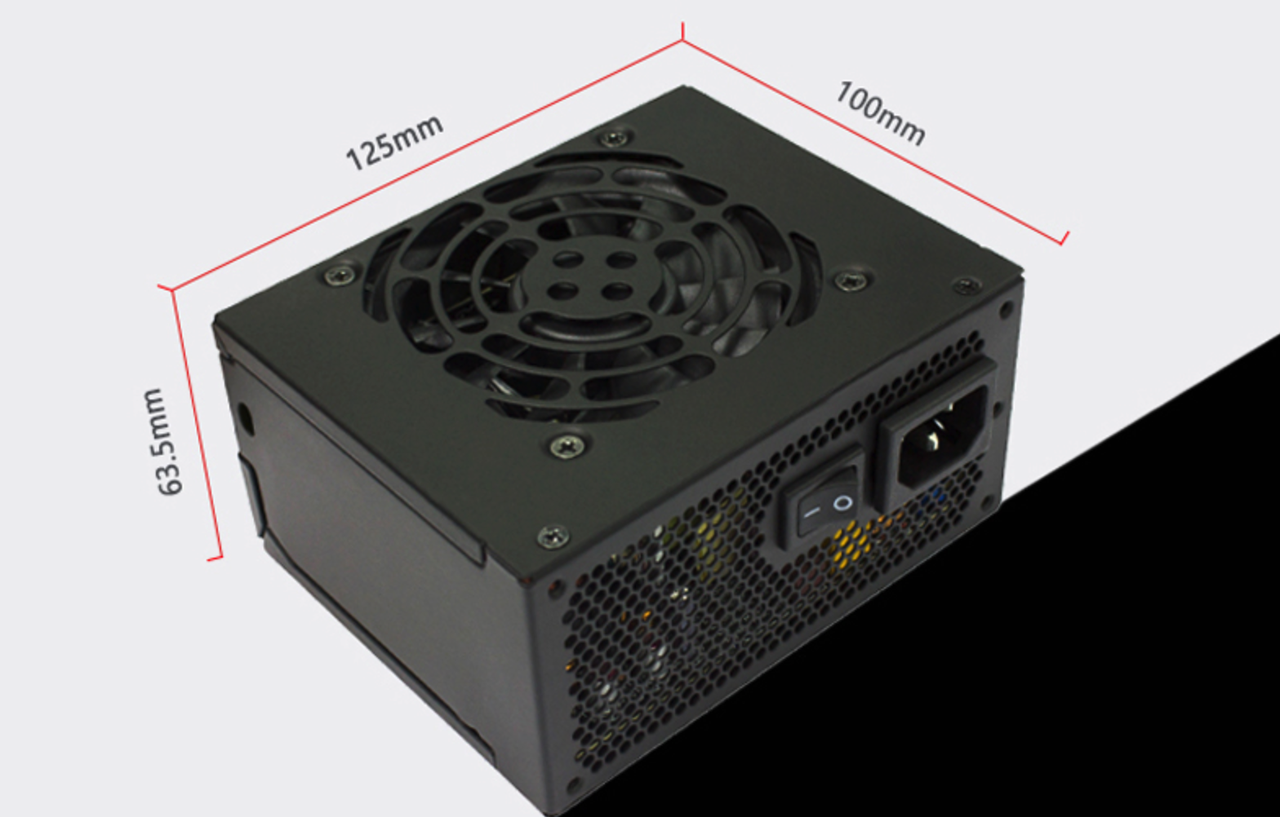
ATX Power Supply
5-Port PCIe SATA Adapter
The same type of ATX power supply + hard drive cage can be your own choice
Connection Diagram
HDD & ATX Power Supply Connect
Please ignore my untidy lines
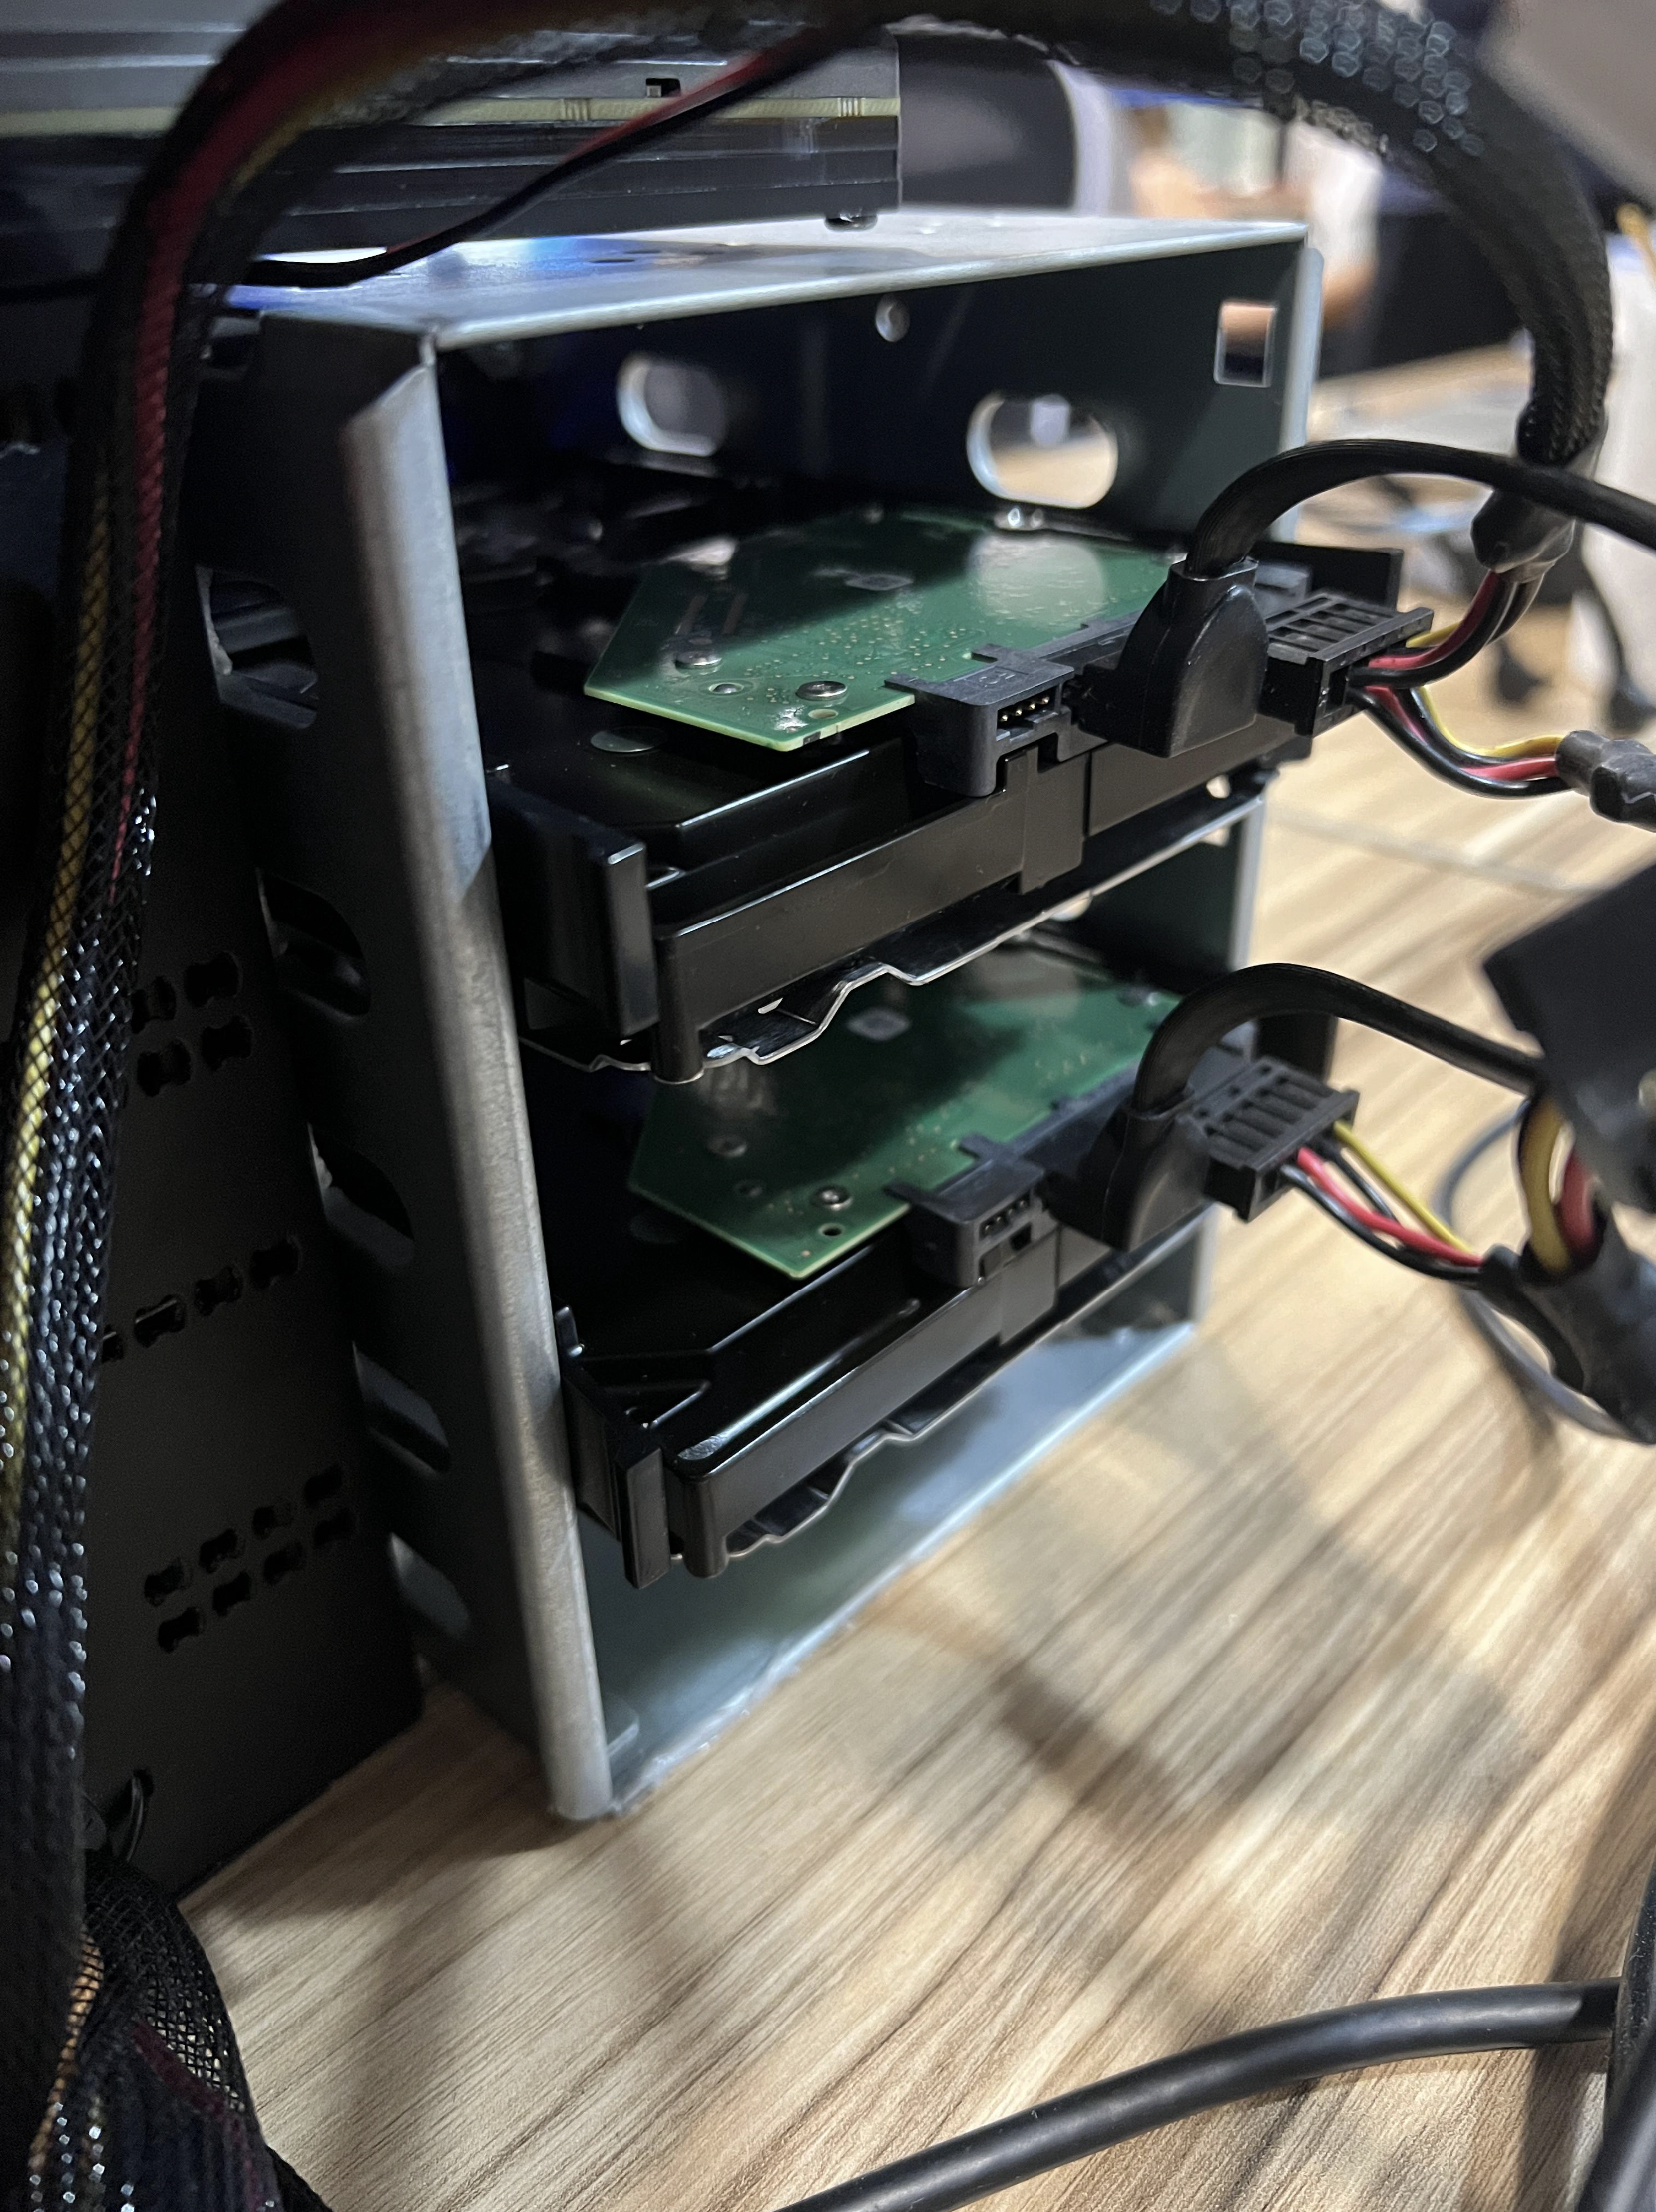
ZimaBoard & ATX Power Supply Connect
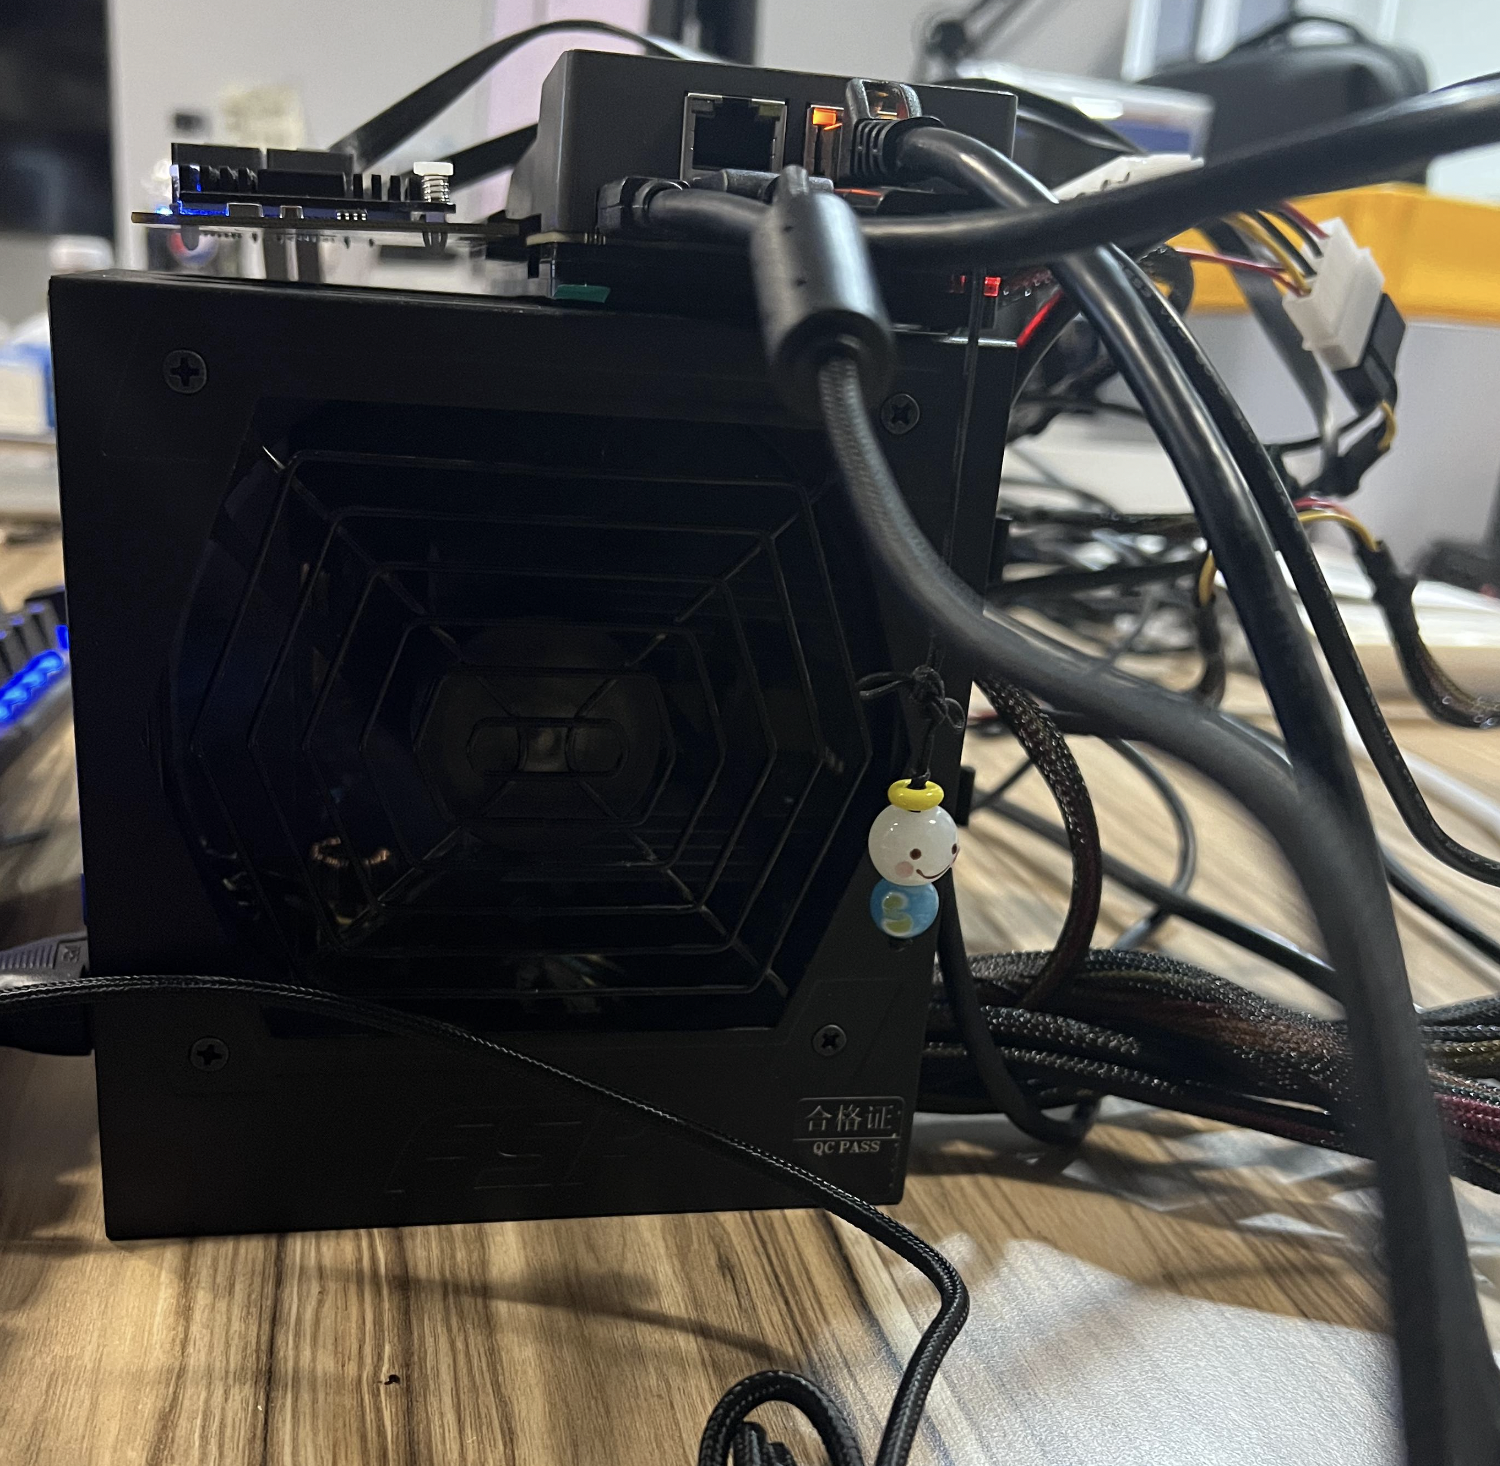
ZimaBoard & HDD Rack Connect
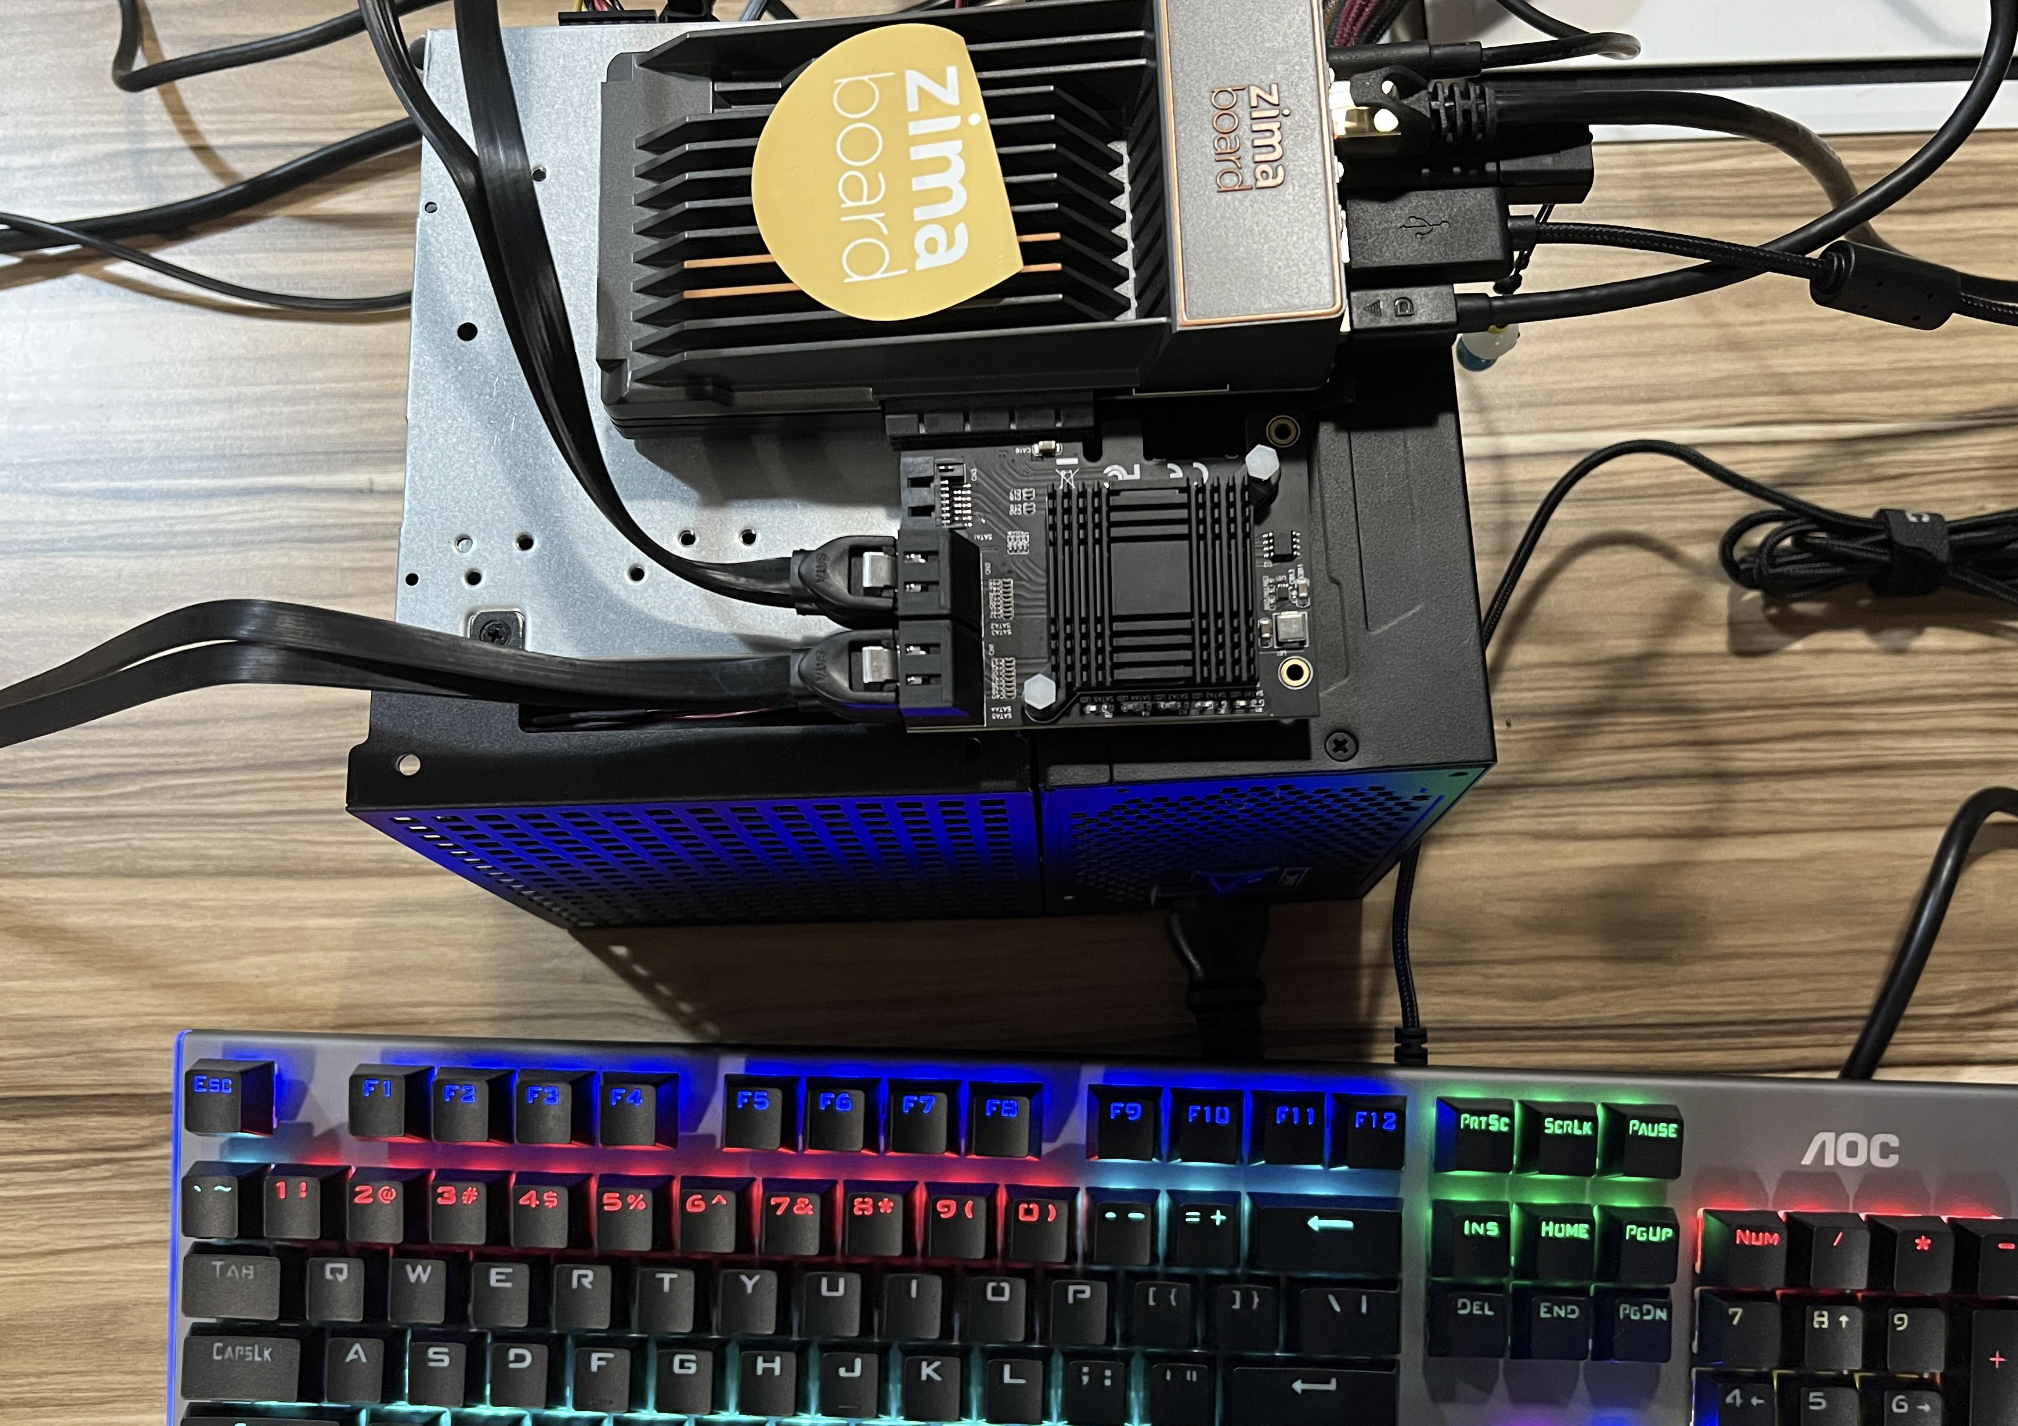
Power Cable Shorted
On a 20-pin or 24-pin connector, find the green wire, usually only one green one, if there are several, the power supply is a workshop factory production. You can find the thinnest green wire and short it to any of the black wires and see if there is any output.
Simple Educational Connections
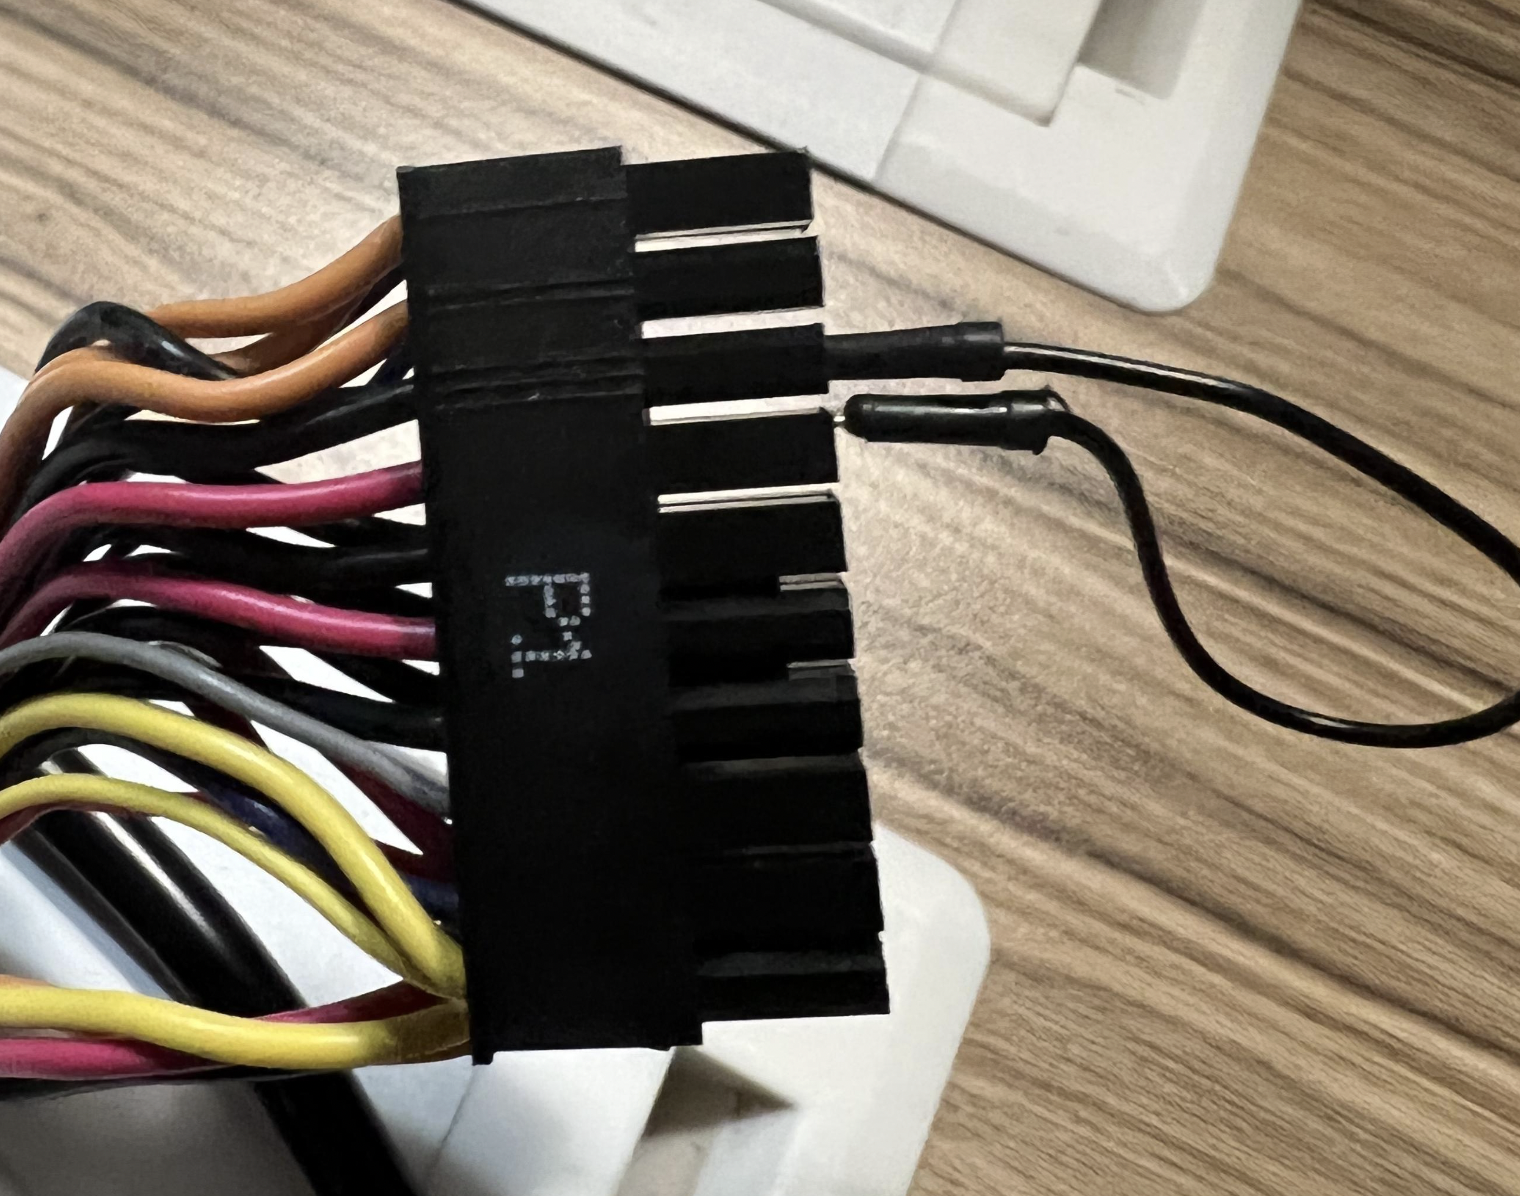
Overall desktop view
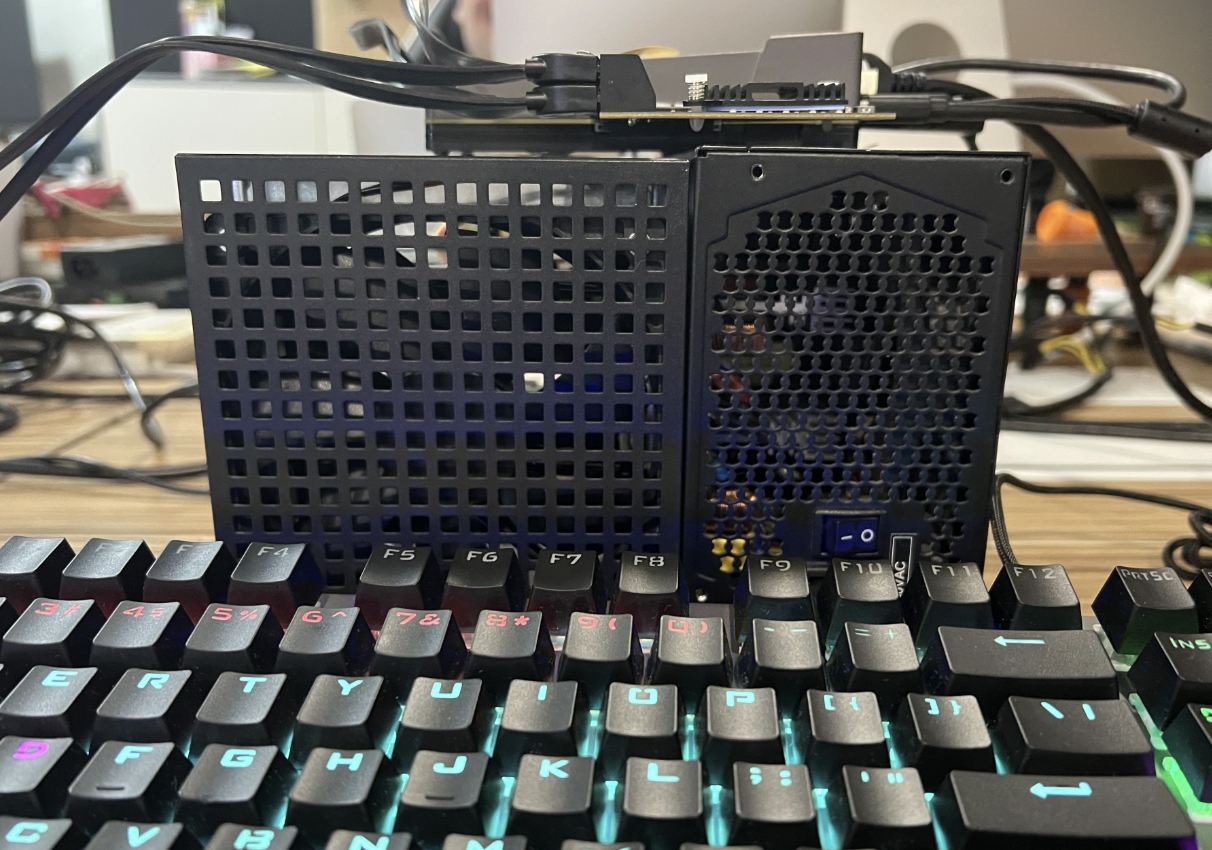
en…. It’s my problem, it’s a bit - very messy
Start To Configure Unraid OS
Configuring user information
After the installation of Unraid is complete, there is only the root user by default and no password has been set, which is a great security risk.
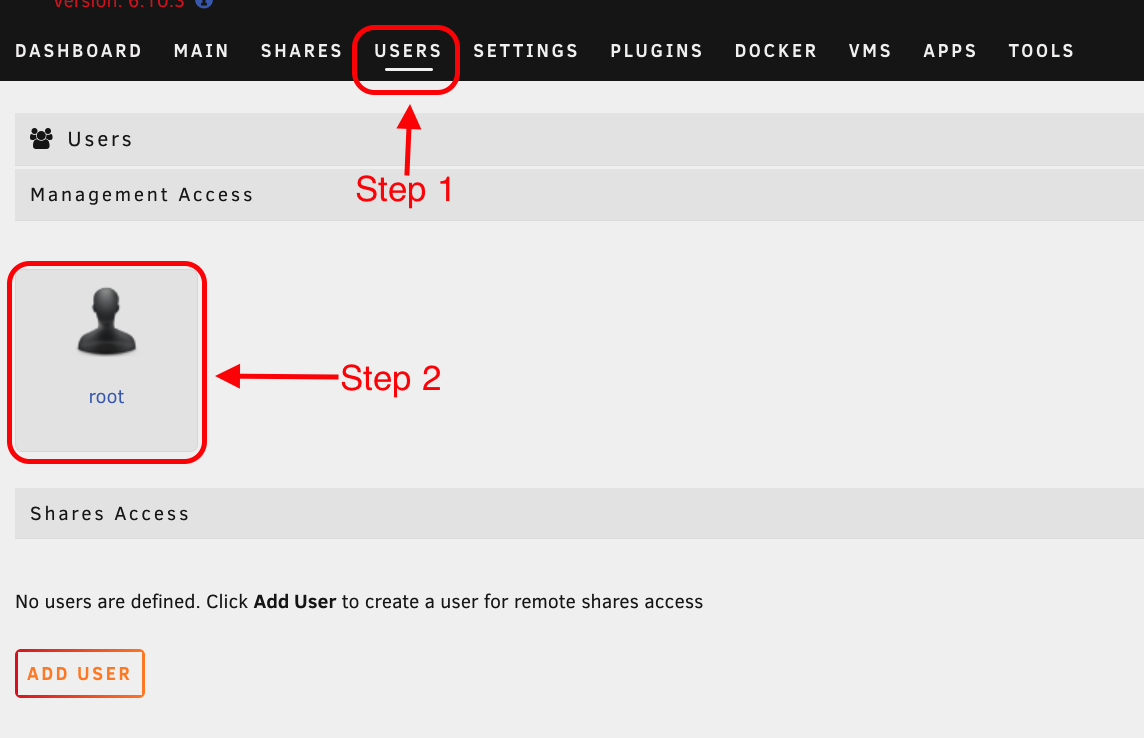
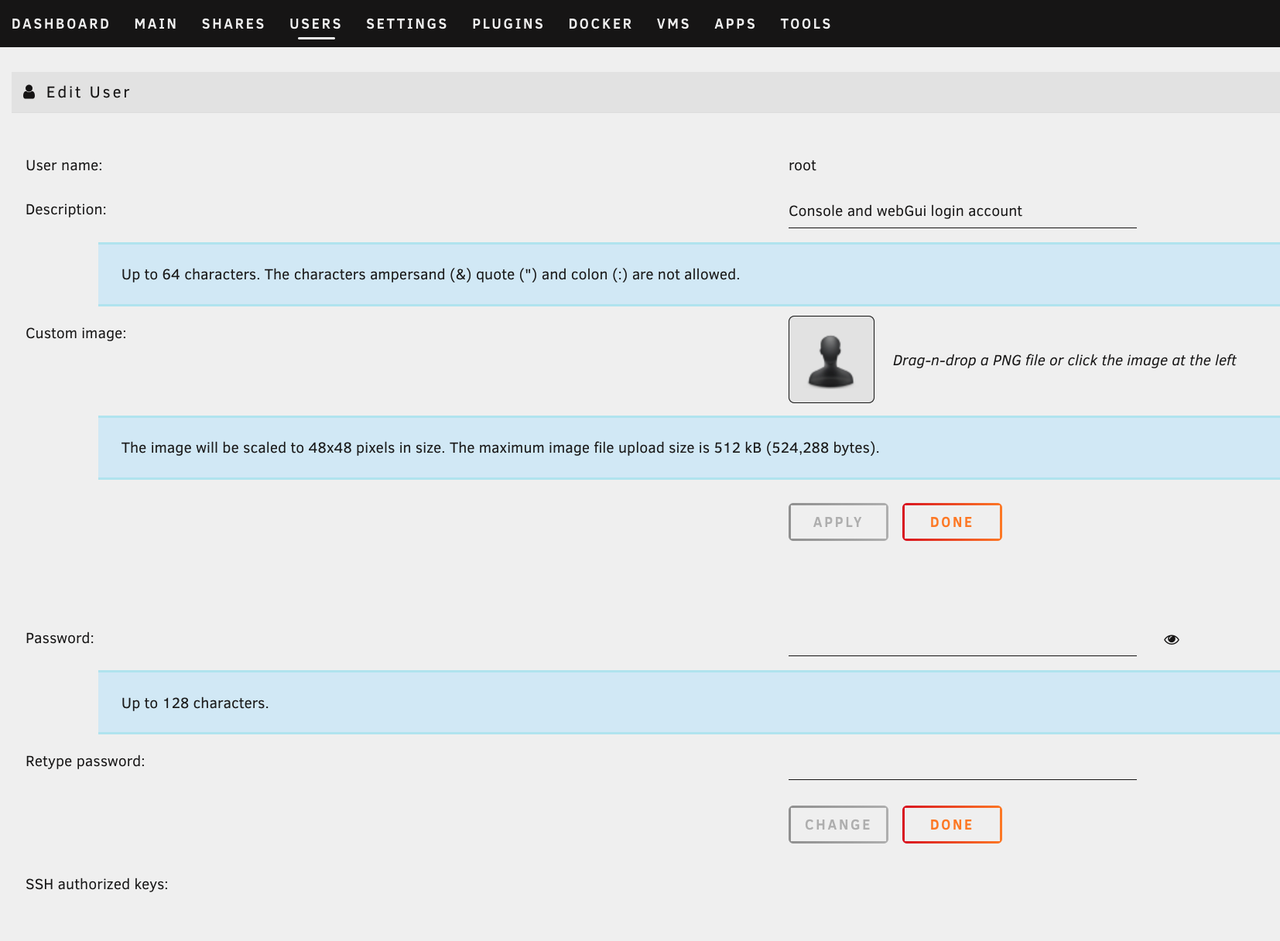
Switch to the USER interface, you can see only the root user. Click on its avatar to enter the user edit screen, change the password and click CHANGE. Unraid will prompt you to log in again. root is the most privileged user on the Unraid system and is also the login user of webGUI, so make sure you remember its password.
Add/Manage User Permissions
Similarly, you can create users to manage user permissions when sharing
For security reasons, you should not use the root user when setting up share permissions and Docker applications.
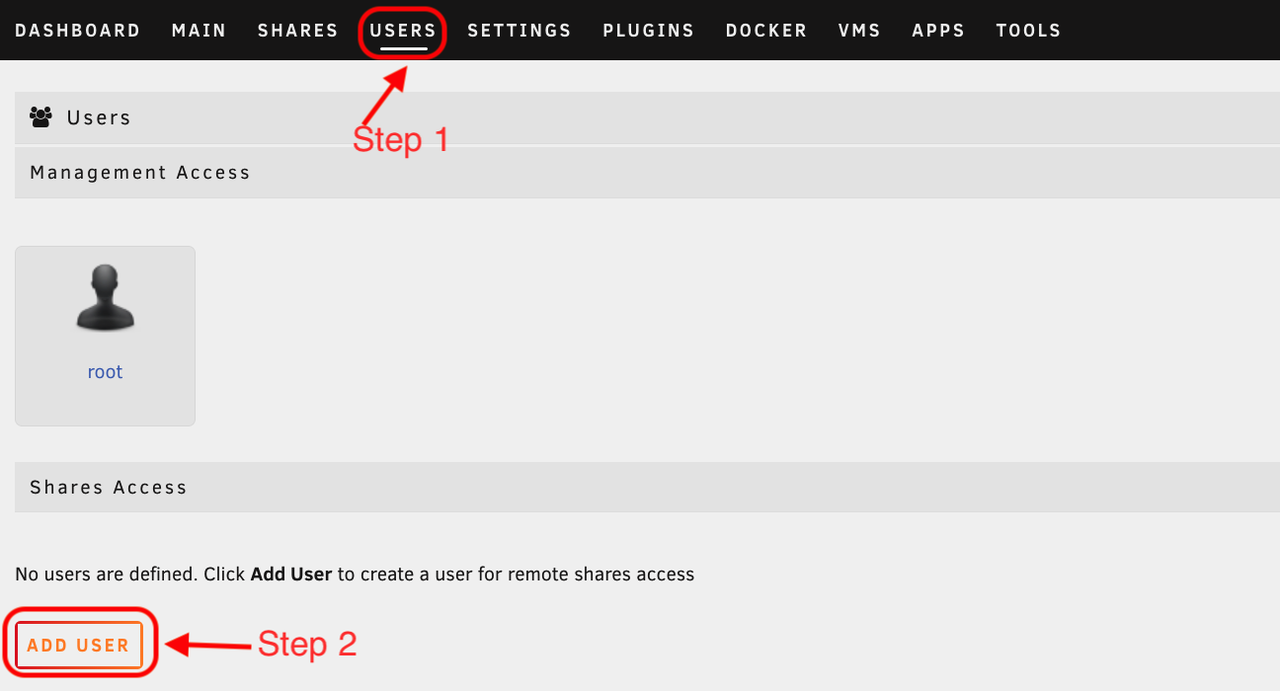
Switch to the USER screen, click ADD USER, set the username, description, avatar and password, and click ADD to create the user.
Configuring hard disk arrays
Tips
The array must be activated to enable other functions
Click “MAIN”
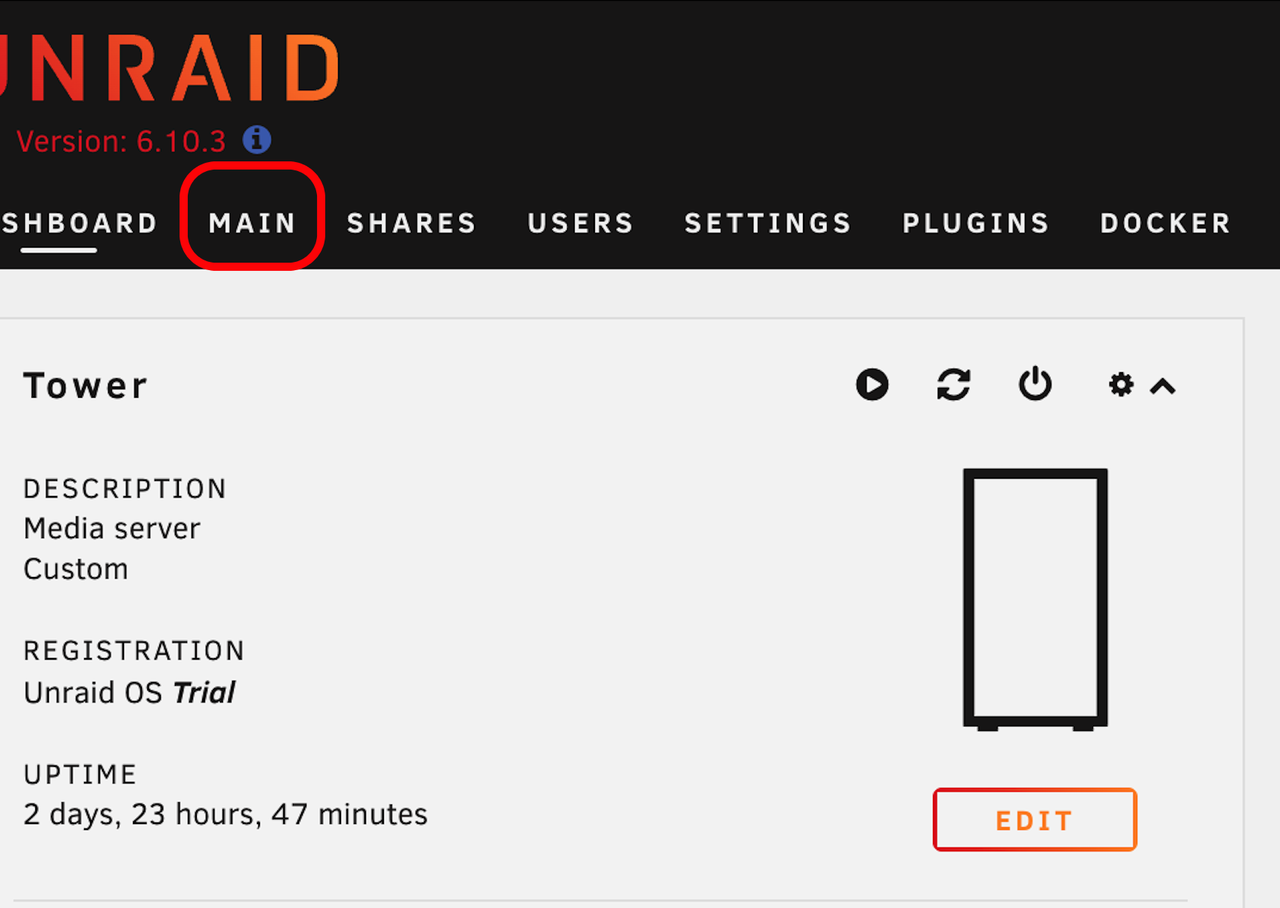
Configure disk
In the Disk 1 option, scroll down to select a drive to be added to the array
With the current hardware, I should be able to get a Disk5, but at the moment I only have two 4TB drives on hand.
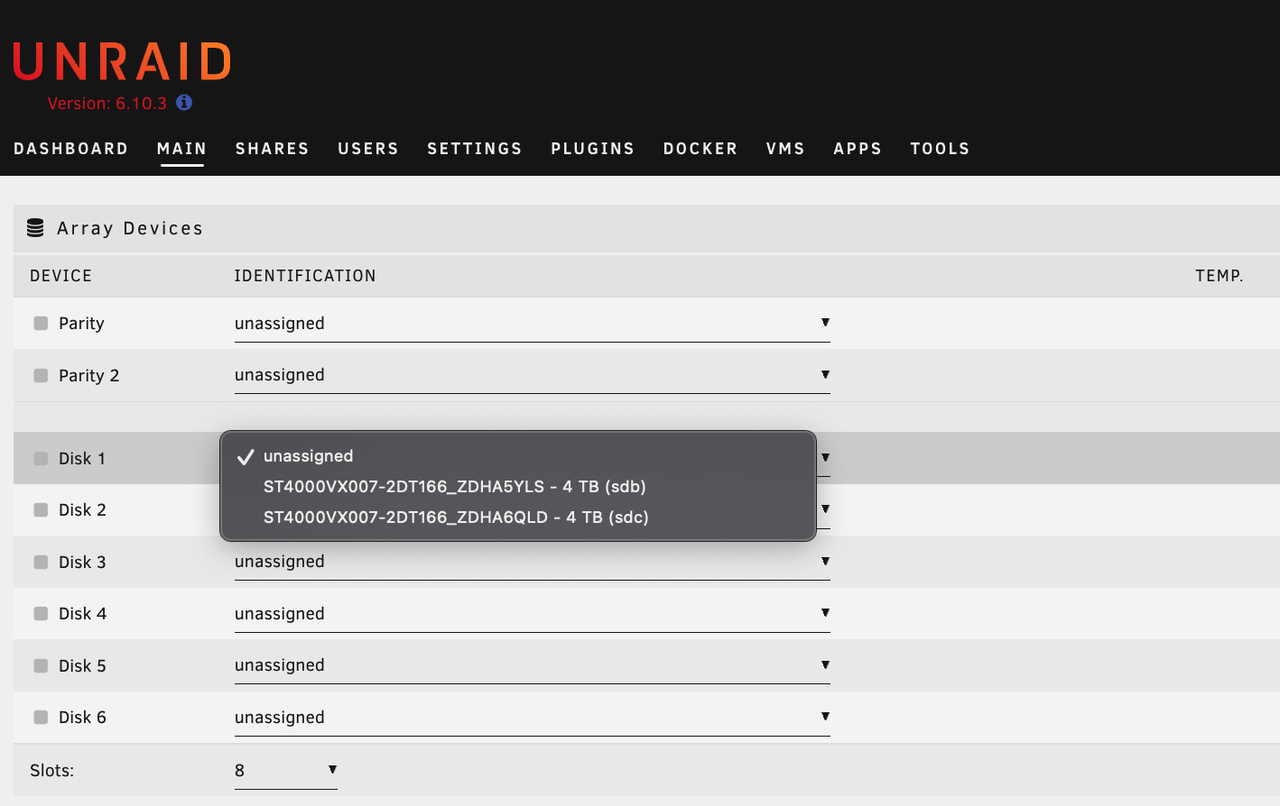
Once you have made your selection, click on the START button in Array Operation

After a few seconds, the drive is mounted
Tips:
The main concept behind the unRAID array is its ability to manage aggregation of disk devices (JBOD) protected by a dedicated parity device. A parity device provides a way for you to rebuild data from a failed disk to a new disk. While it may seem incredible that a drive may back up other drives that have more storage capacity than parity, it is able to reconstruct lost data from a failed drive using binary logic called XOR (eXclusive-OR). Because hard drives store data as zeros and ones, when a drive fails, parity compares the binary data on all surviving drives and can infer the lost data to be reconstructed.
Create a shared folder
Click “ADD SHARE”

Enter the appropriate information and select the appropriate disk
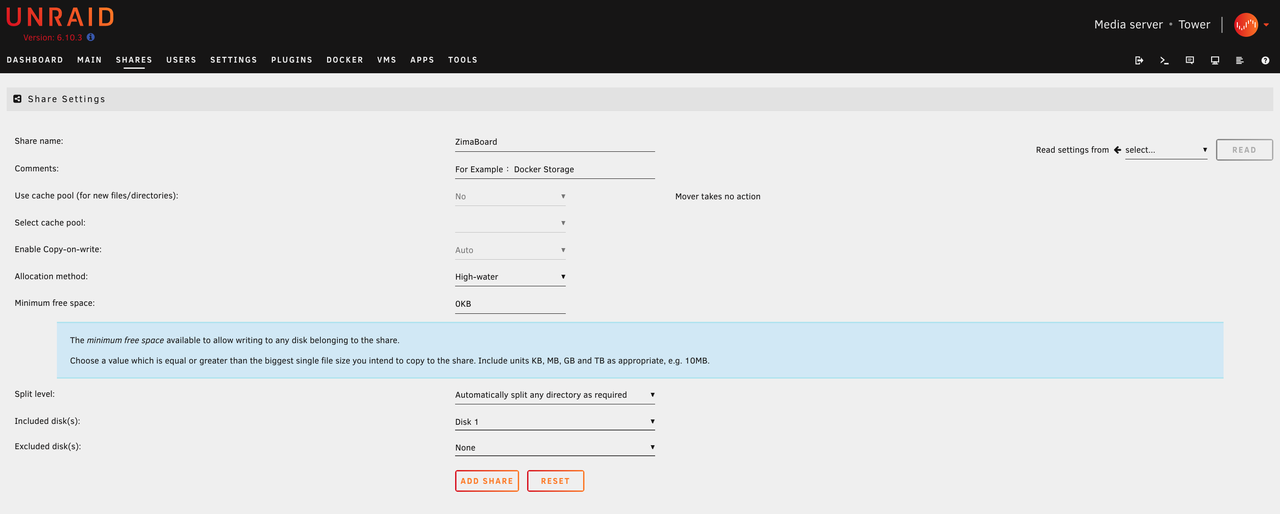
Set whether the folder is an SMB share folder

Official Mounting Tutorial(There are many different ways to do this, so I won’t explain them all here, if you’re interested click on the links to see them)
Unraid of Other features
Use Docker
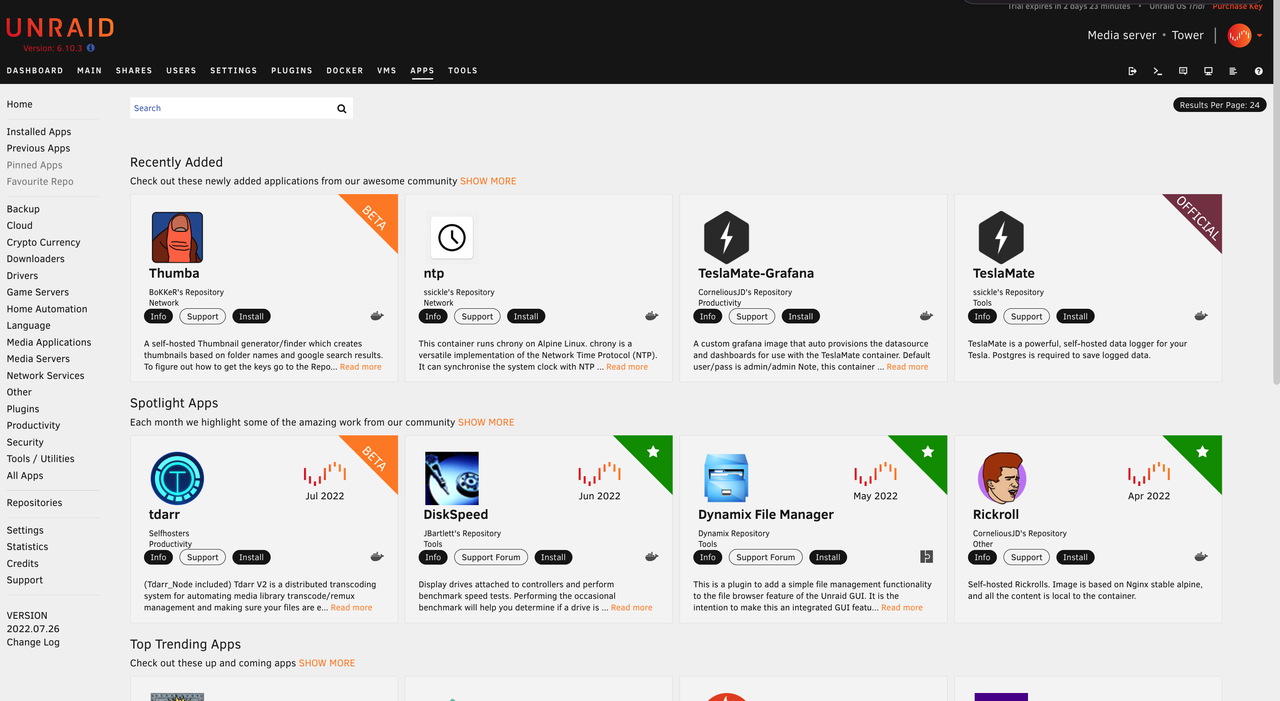
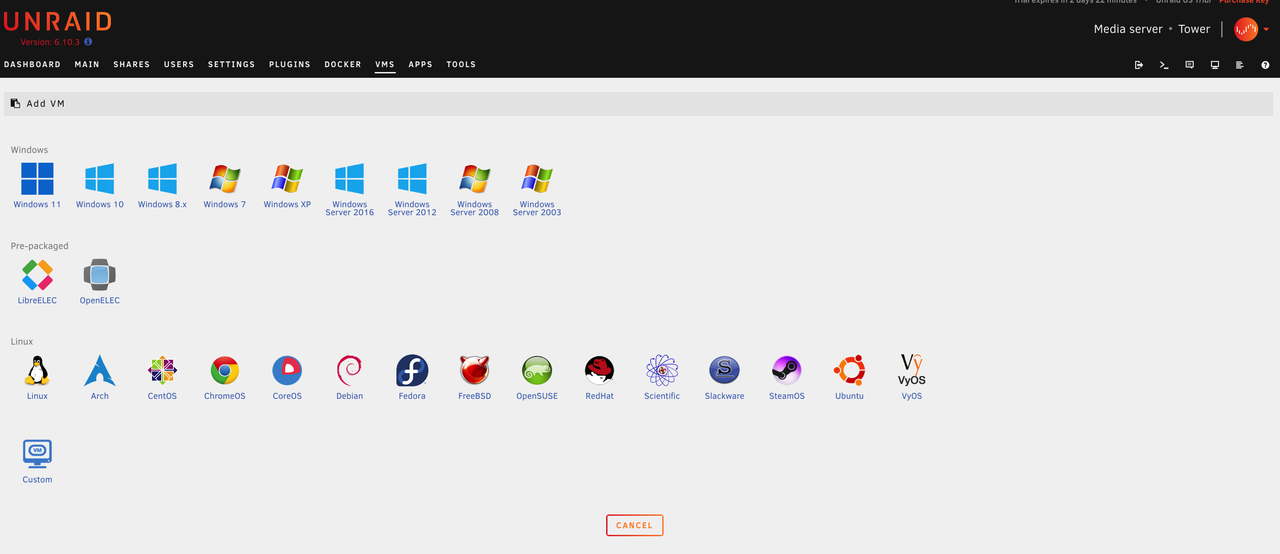
Virtual machine creation and use
Create SMB/NFS local side mount

In summary:
There is much more to Unraid OS and the benefits are clear: Flexibility Scalability. Modular Unraid enables you to build the system you have always wanted using the preferred hardware, software and operating system. I hope this system will meet everyone’s usage scenarios
UnraidOS has been running quietly and stably on my ZiamBoard 216 for 48 hours without any discomfort!
Life is limited, tossing is unlimited.
